SARA ABDULAZIZ
about
offerings
galleries
blog
book your consult
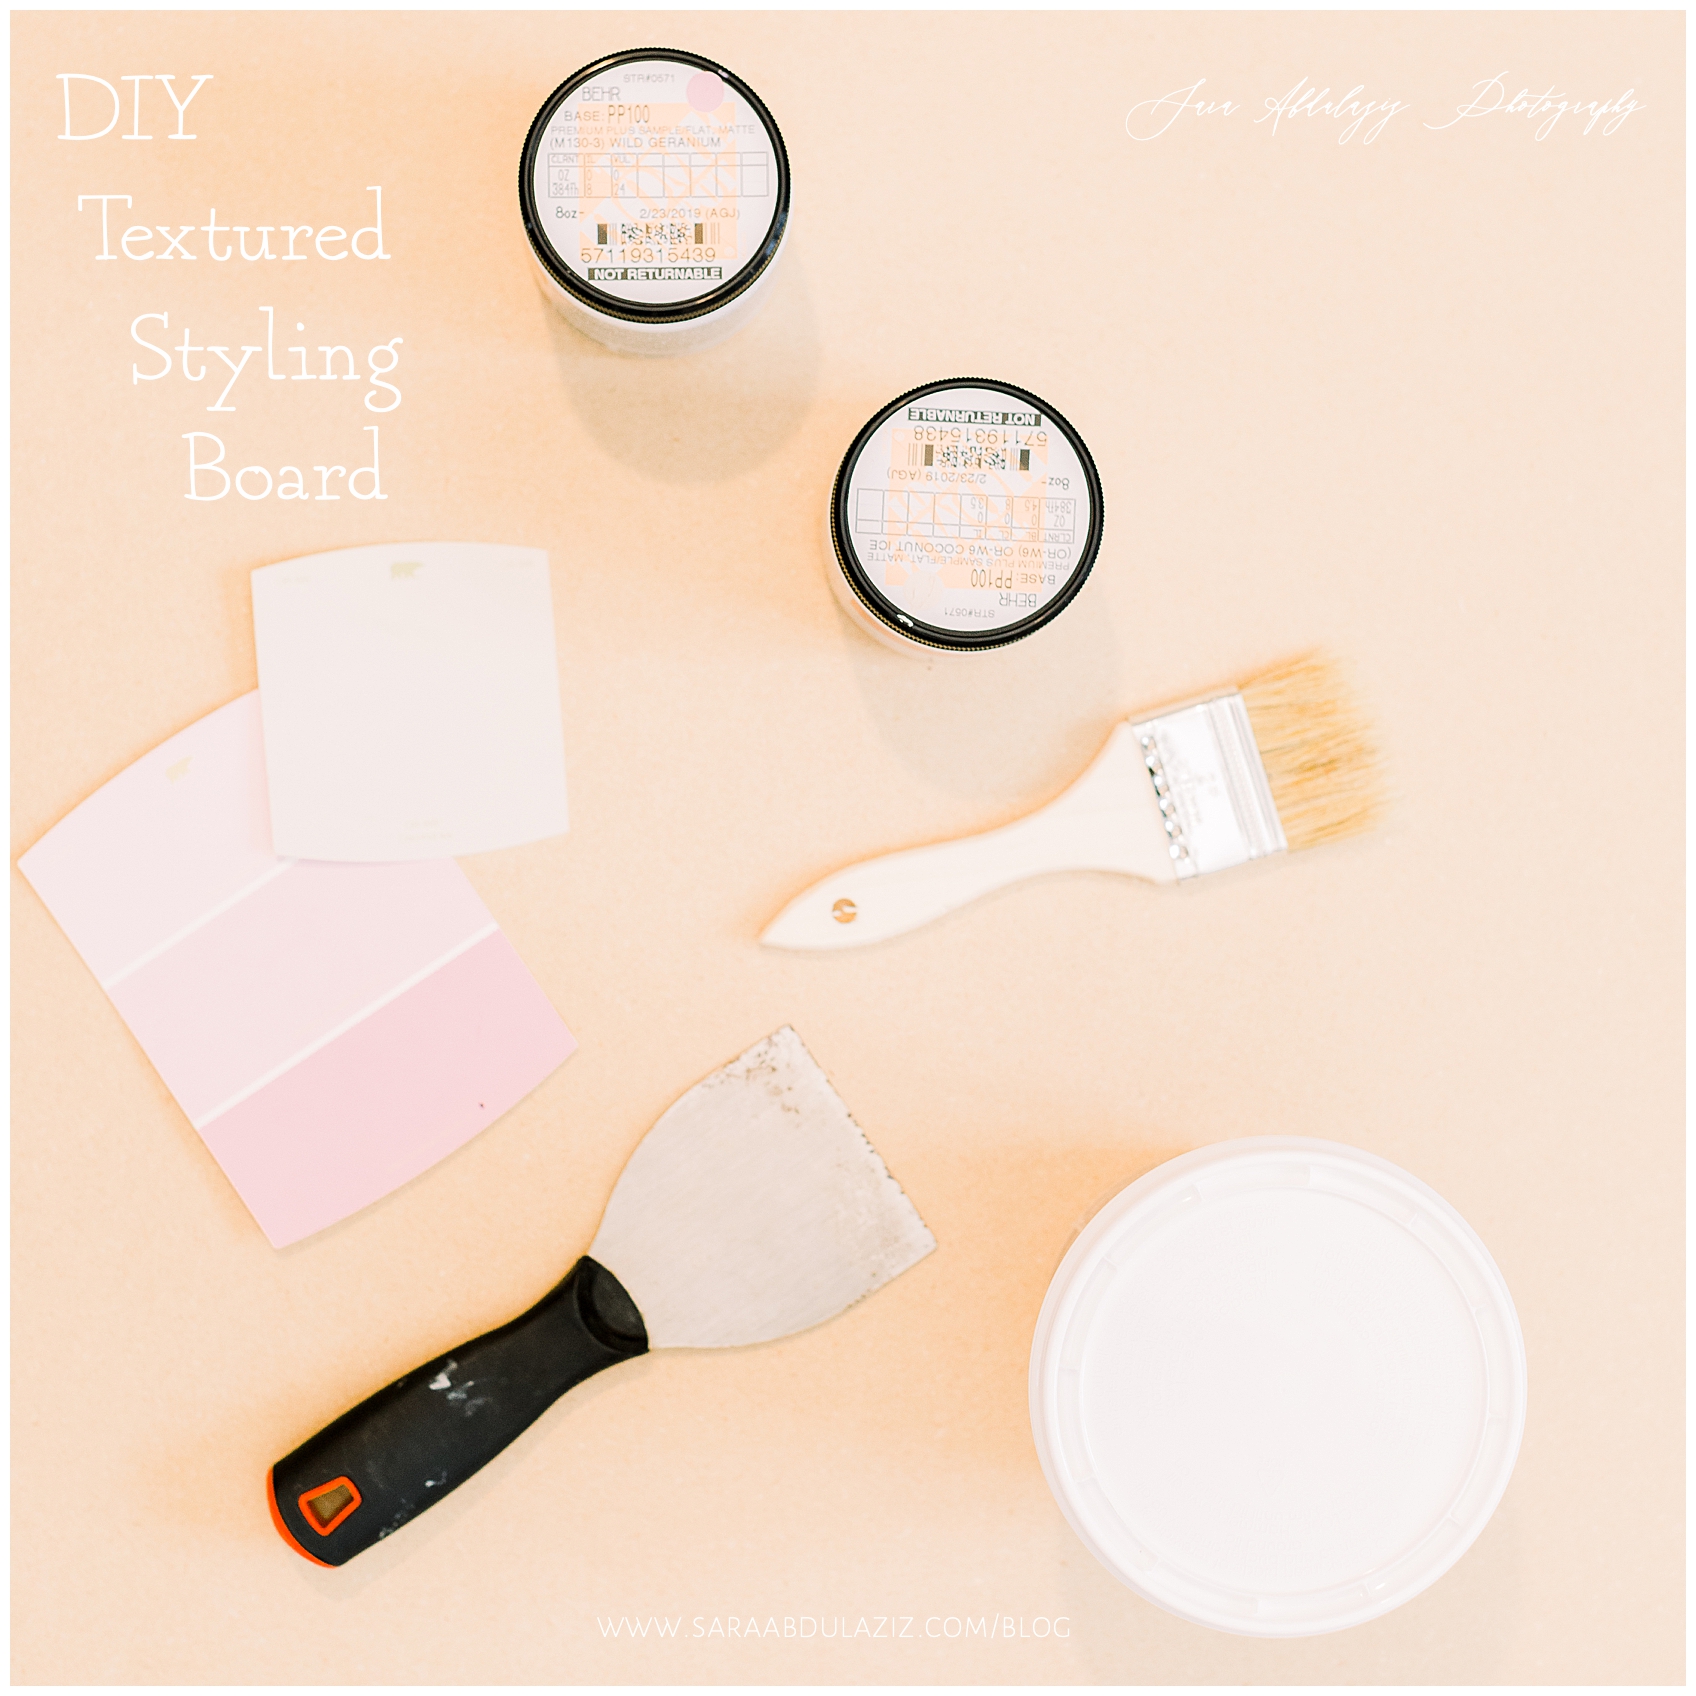
I am constantly trying to step up my flat lay game and I felt that it was time I hopped on the textured styling board wagon! I’ve done my research and it usually costs $100 per board, not including shipping, to purchase a textured styling board from a store. I’m pretty crafty, so I went on a quick Home Depot run and bought the supplies I thought I needed and guess what! For just $30 and a few hours of my day, I had not one, but TWO TEXTURED STYLING BOARDS! So here I am, sharing my secret to saving those dollars. DIY y’all!
MATERIALS
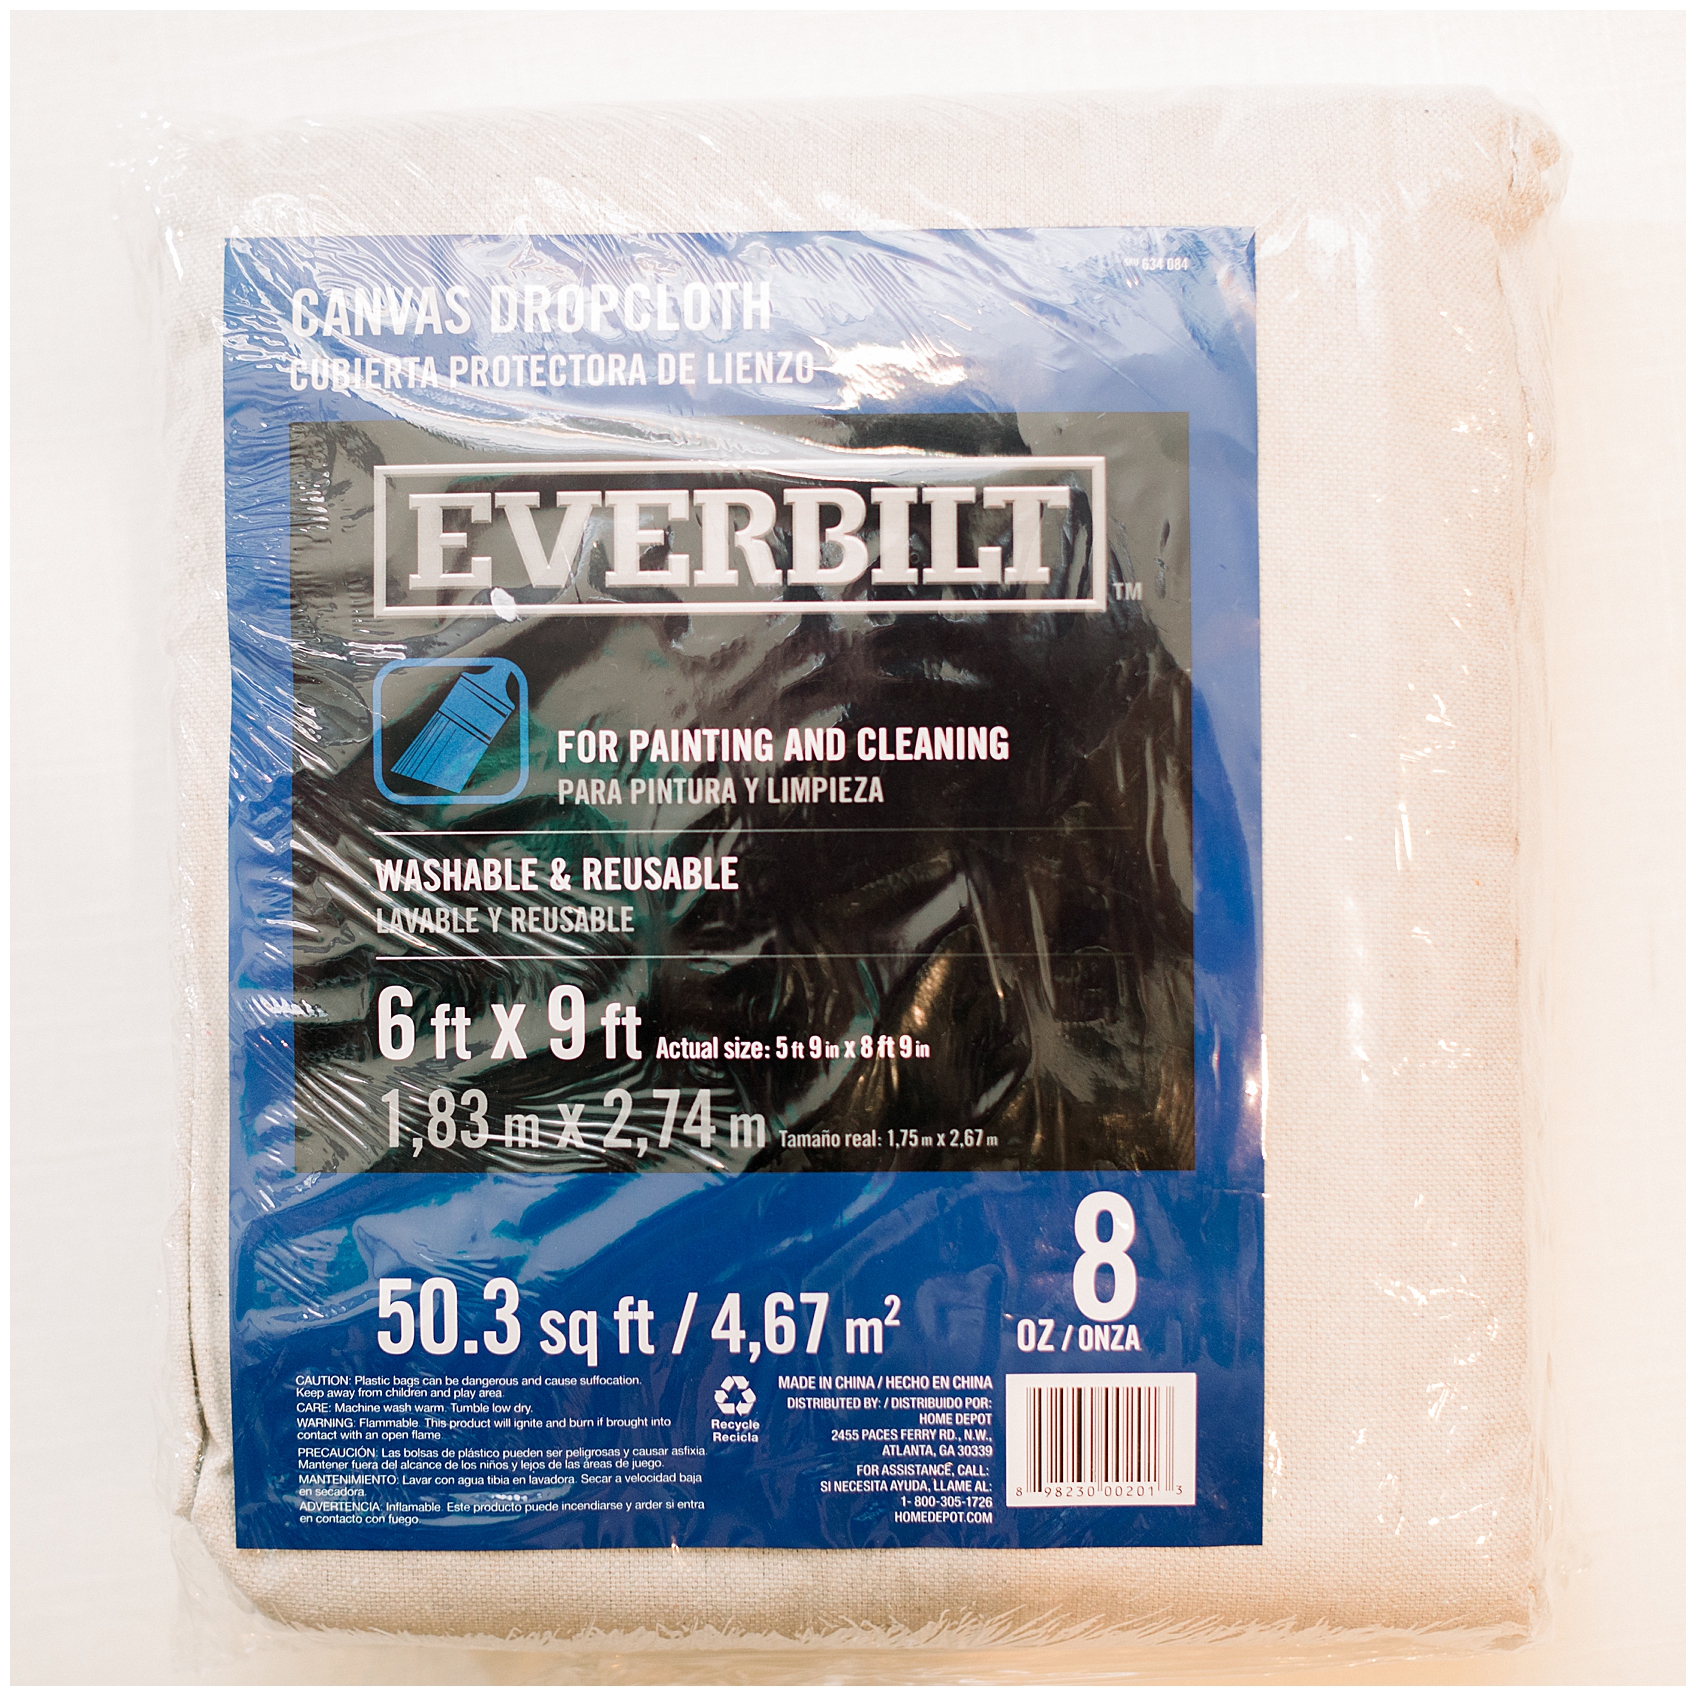
- Drop Cloth (I used a Canvas Drop Cloth since I do lots of projects so having a durable, reusable option was necessary. There are cheaper plastic ones you can get or you can use newspaper)
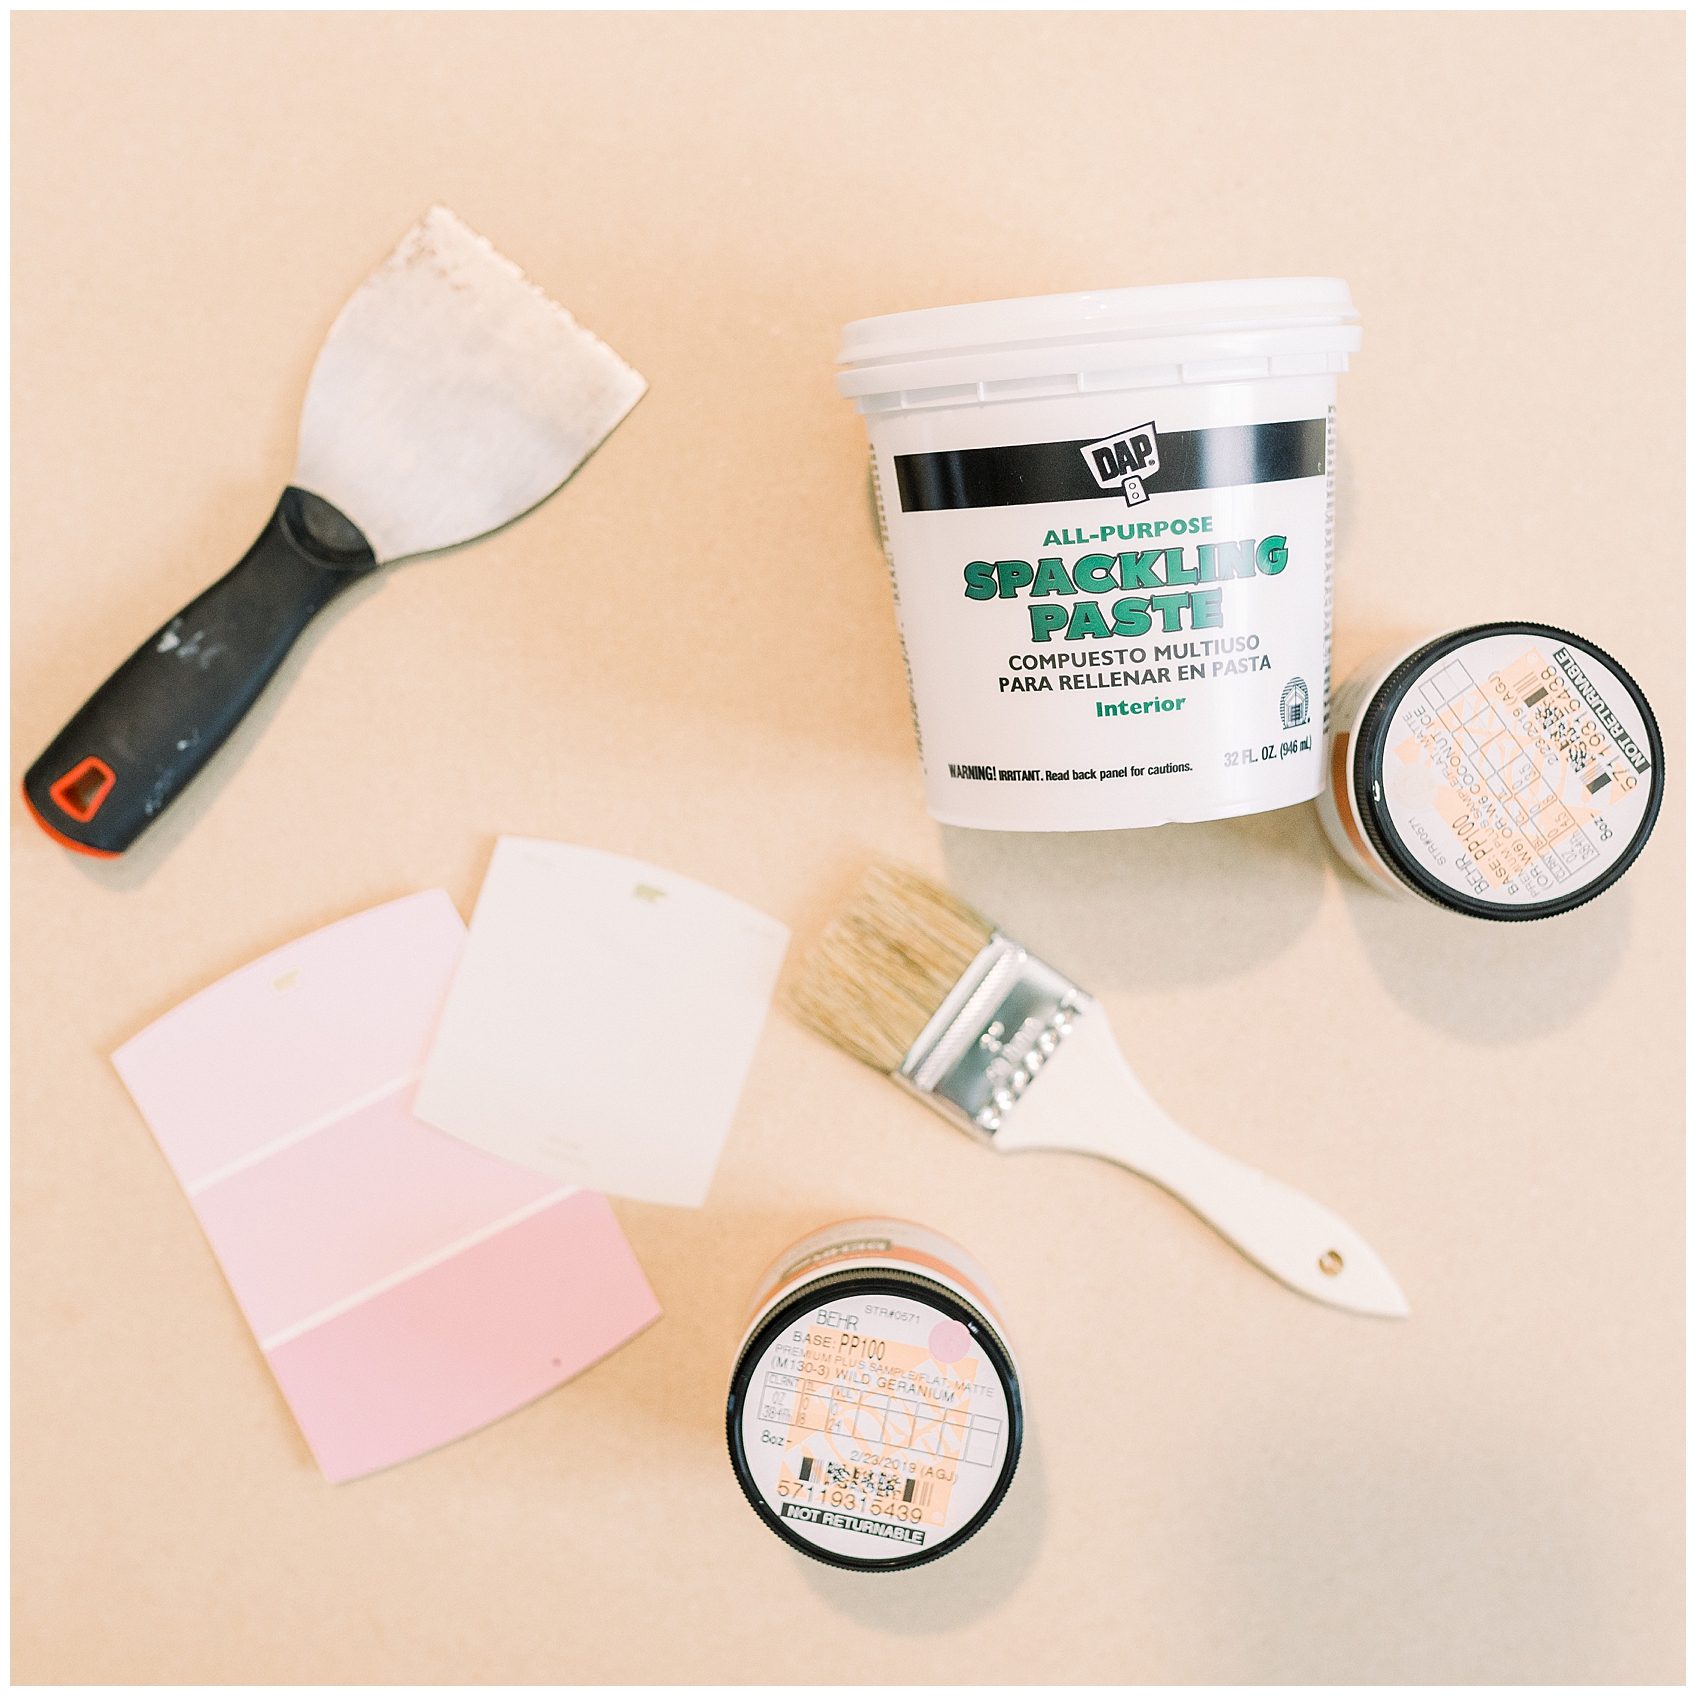
- Metal Putty Knife (Plastic works too!)
- Board (Canvas, Wood, Foam)
- Paintbrush
- Paint (Acrylic or Sample Paint)
- Spackling Paste
PROJECT COST: $30
These are the exact supplies I used to create my boards.
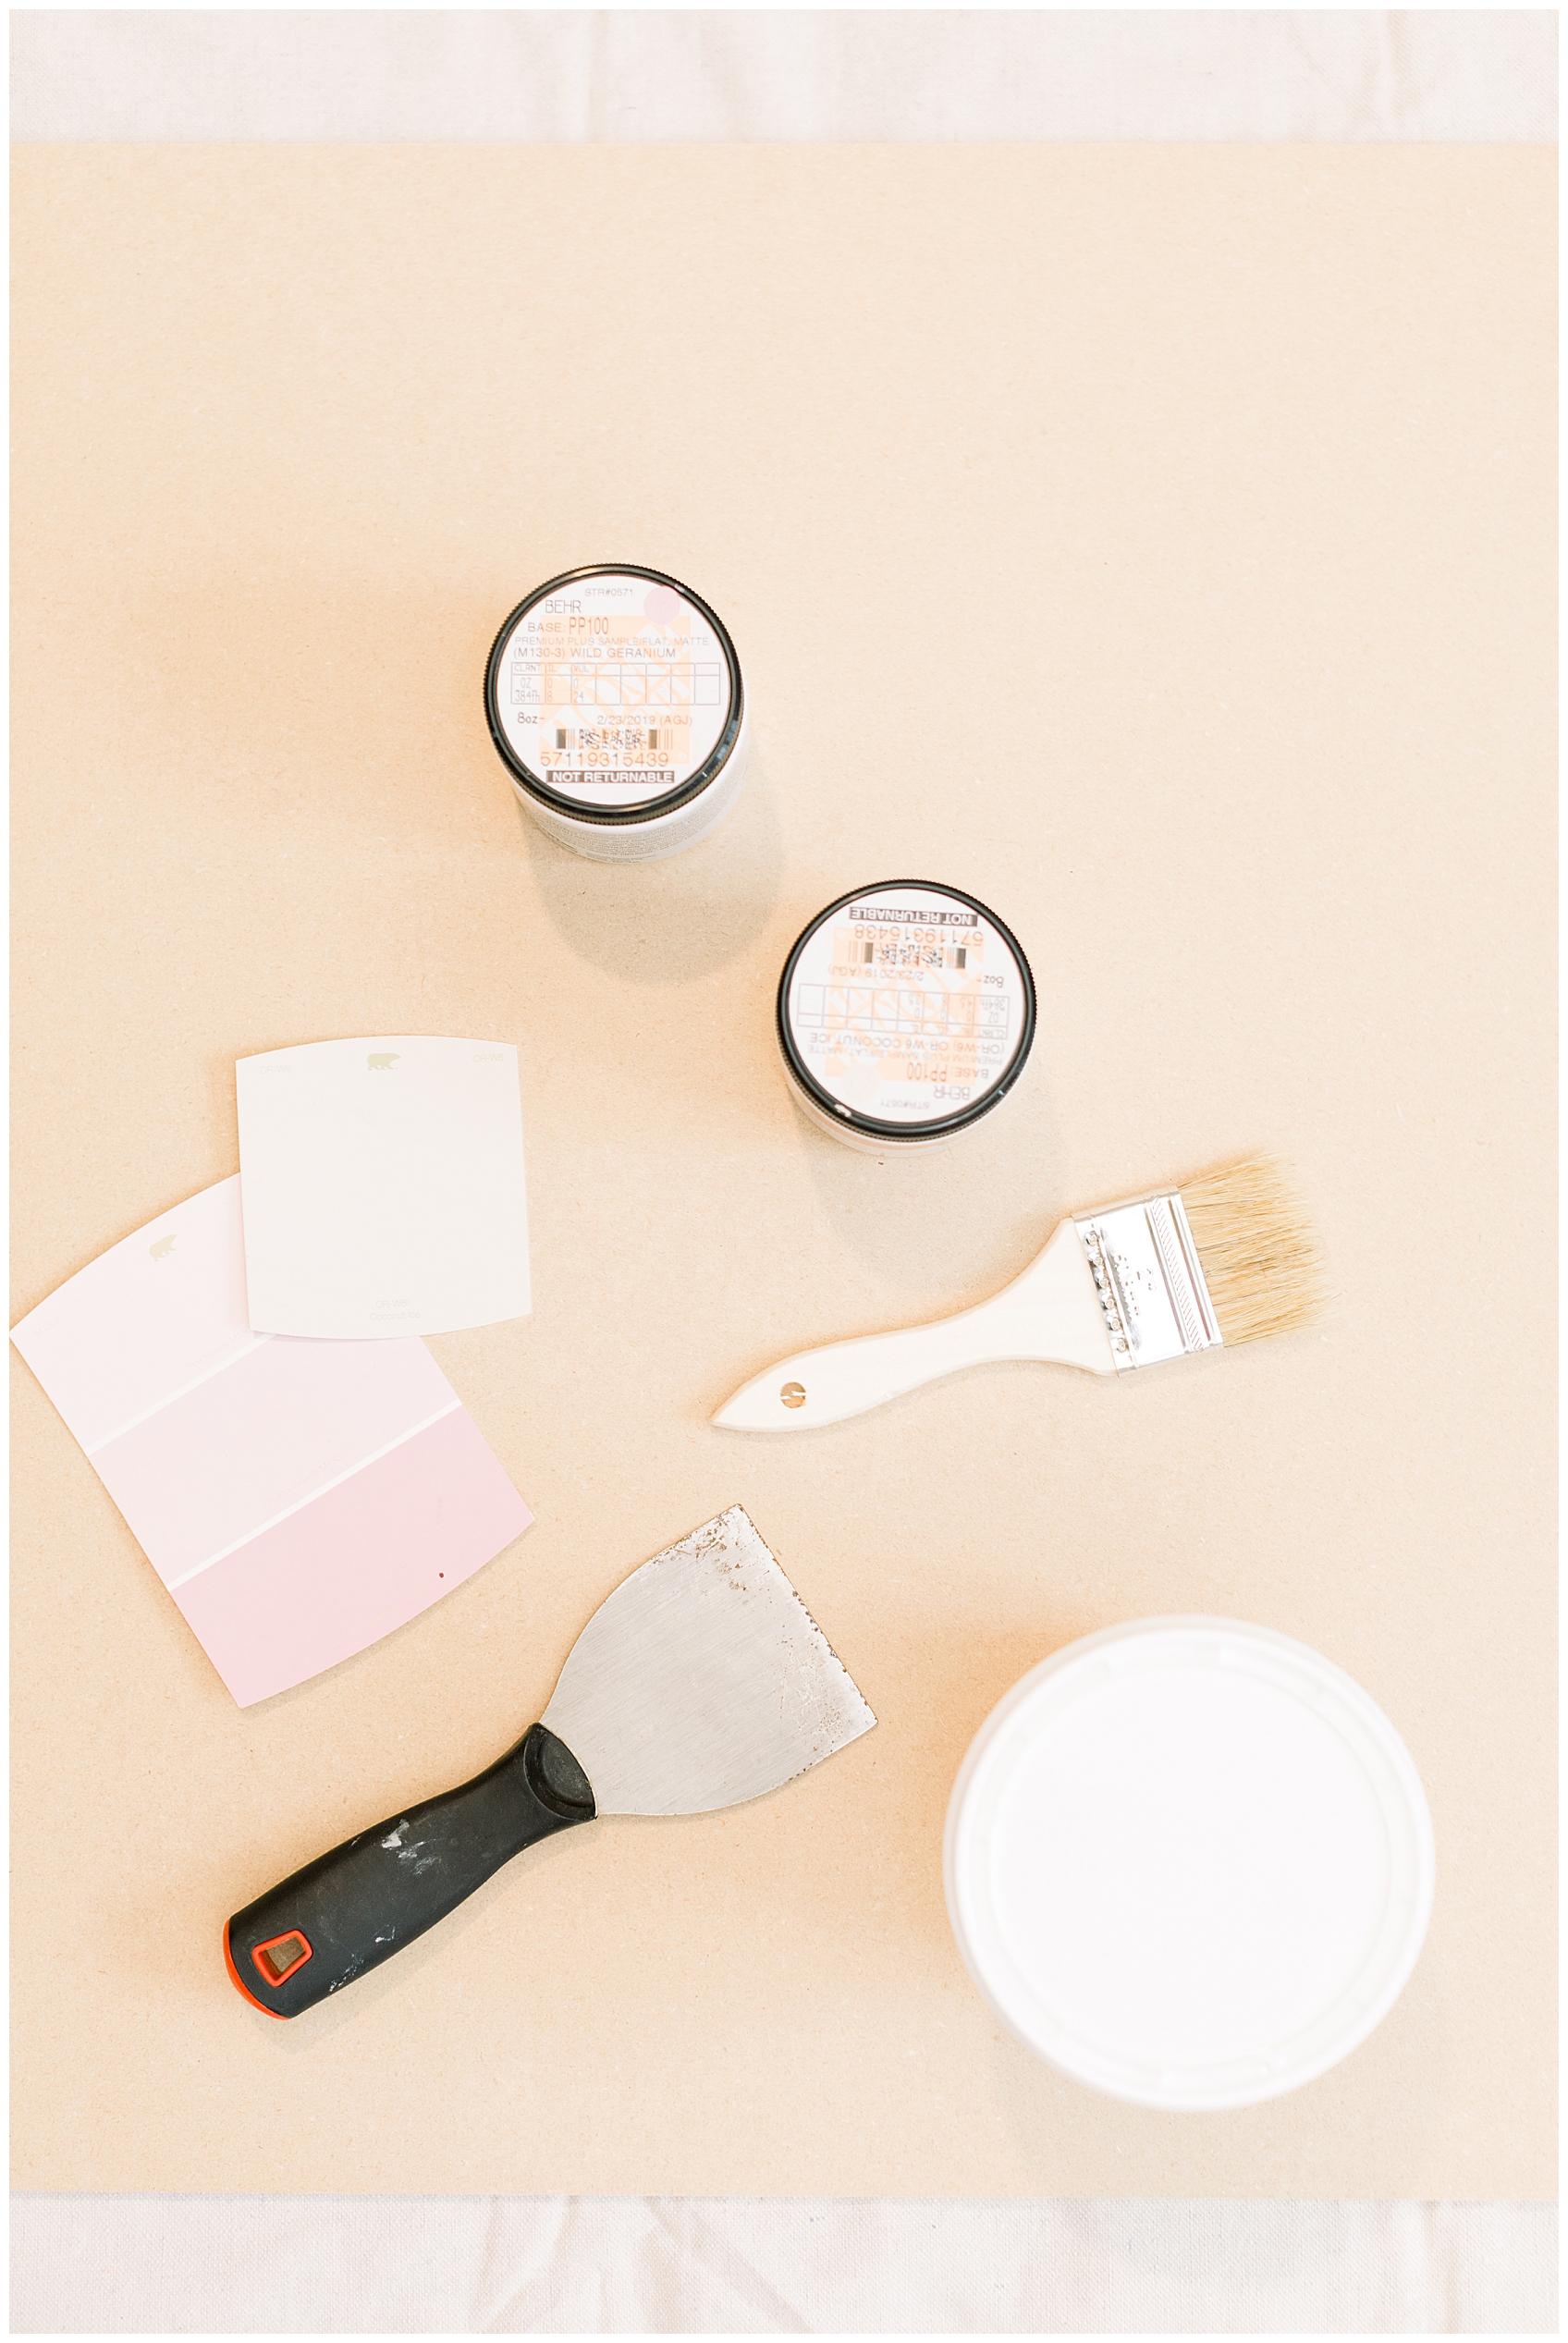
#1. Lay Out Your Drop Cloth
Before getting started, make sure to have your work area covered! I used a canvas drop cloth since it’s heavy duty and reusable for all my projects.
#2. Apply Spackling Paste To Styling Boards
Once you’ve got your area protected, go ahead and get your board, spackling paste, and your putty knife. Start by mixing your paste really well in the container. After you’ve mixed up the paste, grab a good amount using your putty knife and begin smearing it across your board. Feel free to try different stroke directions and varying thickness of paste as you apply it to the board. It’s good to experiment as you go, especially since the speckle is super forgiving! Mess up? Just add more on top and flatten out the problem areas. Although, it’s very rare you will have a problem area since the more texture, the better! I had enough paste to cover up two 2’x2′ boards that I bought from Home Depot.
#3. Dry & Paint
Let the spackling paste dry (depends on your brand so be sure to check the back of your container! mine dried in 1.5 hours) and then go ahead and apply your paint! You can use acrylic or you can pick up some bottles of sample paint from your local hardware store. Since I wanted to do a tutorial on it and make a product using items that fit within a $30 budget, I went to the paint section at Home Depot and picked up a few colors that fit my brand. As long as the finish is matte, you’re all good to go!
#4. Dry & Enjoy
After your boards have been painted, let them dry for another hour or so and then they are ready for you to use the heck out of them 🙂
Let me know if you have any questions by leaving them in the comments! If you end up using these instructions, please do share! I’d love to see all the gorgeous boards y’all come up with 🙂 Happy styling!
See the styling board in action!
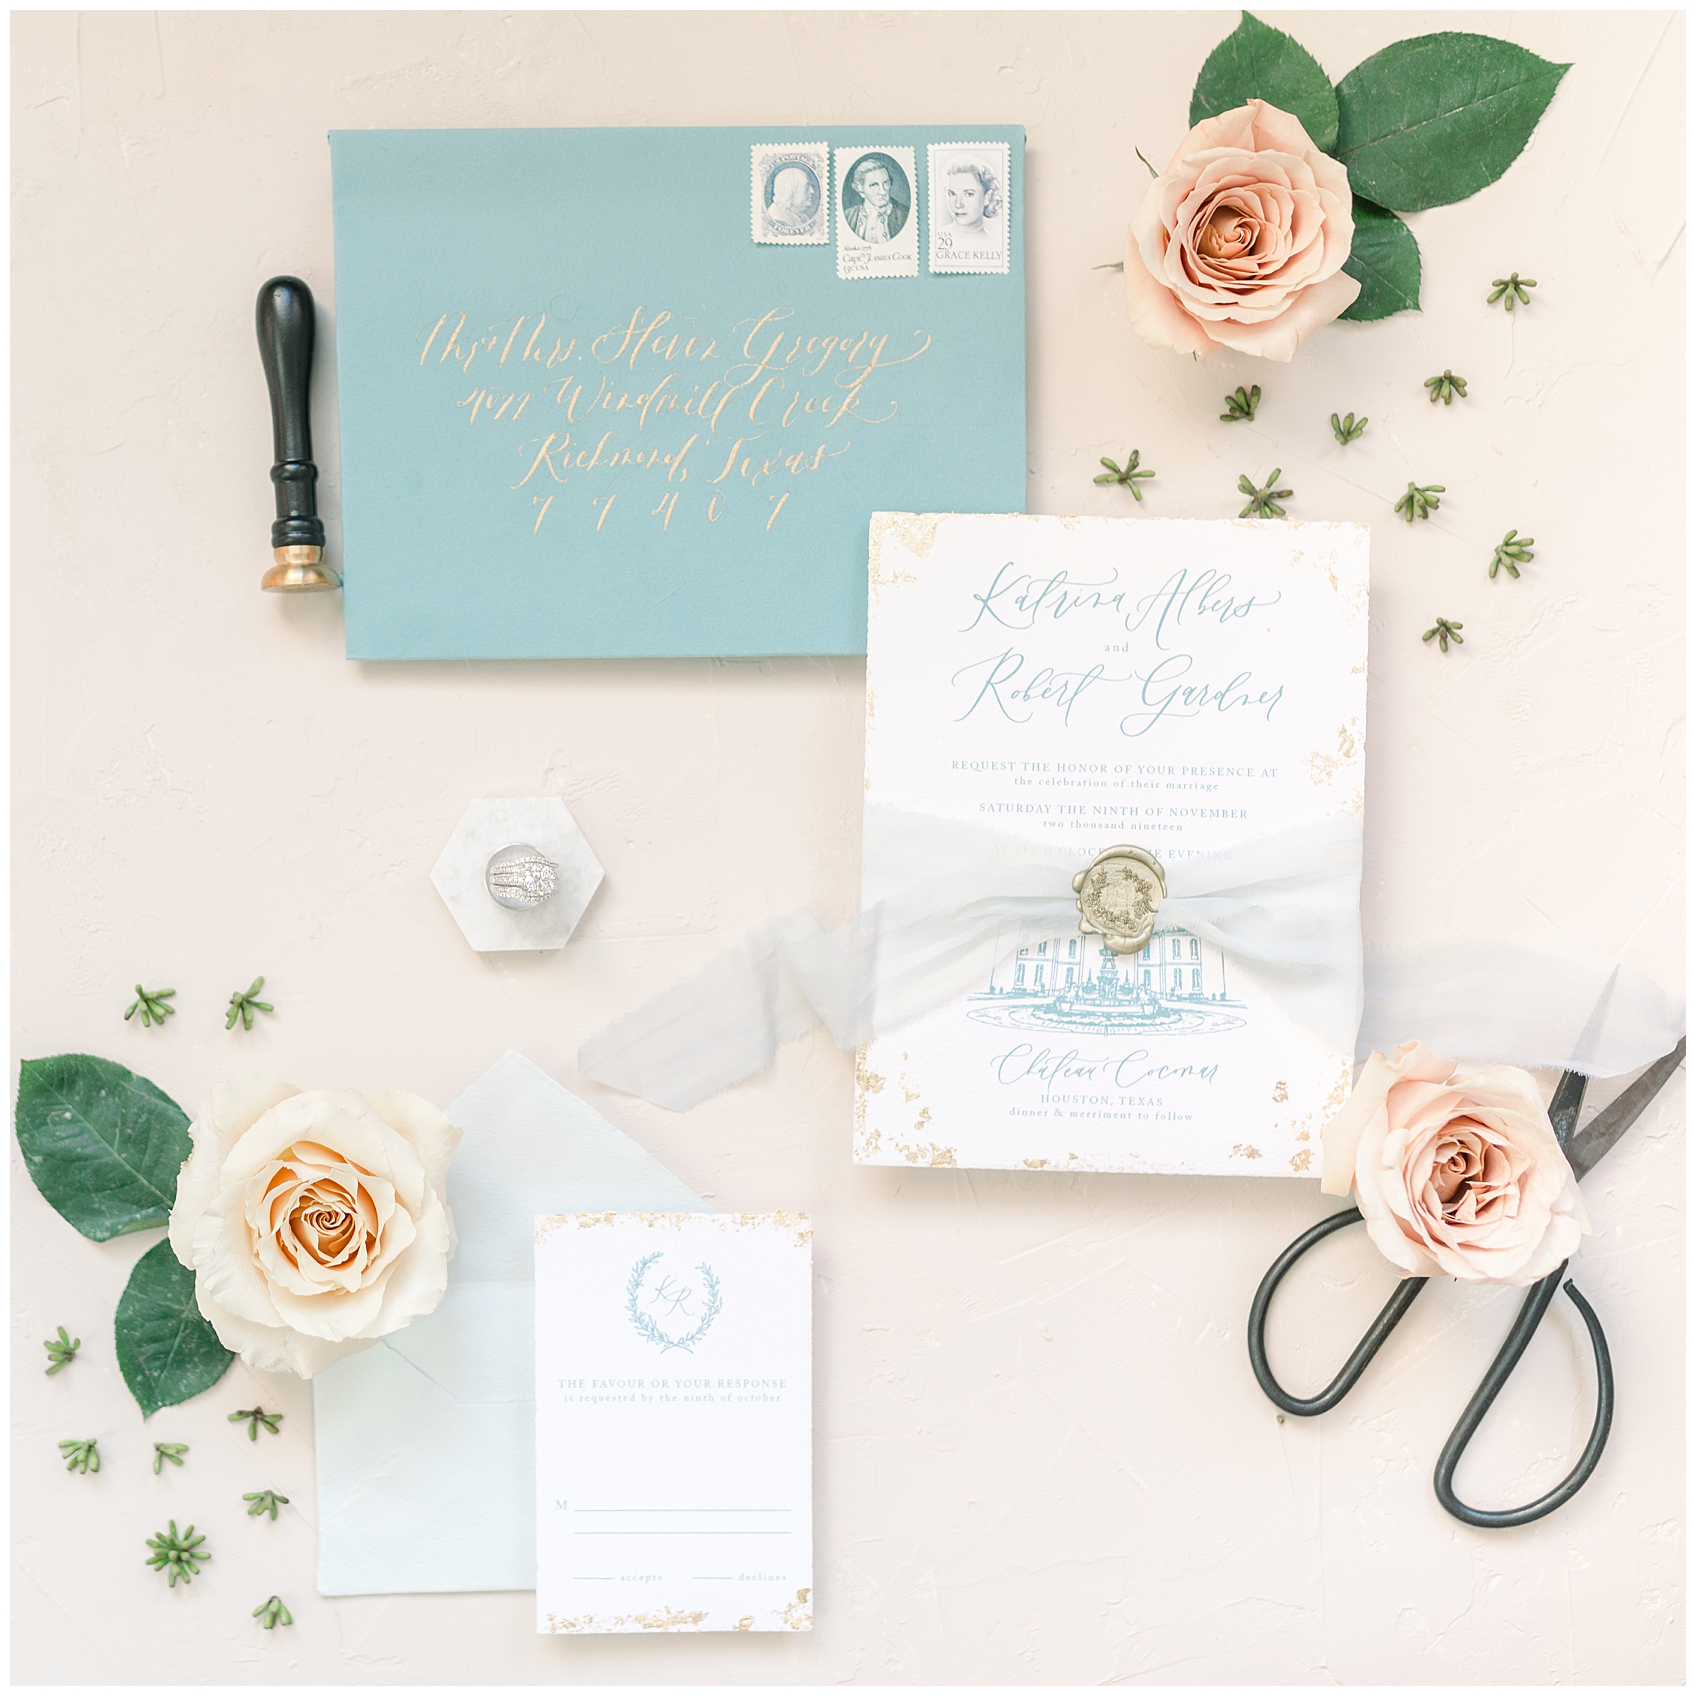
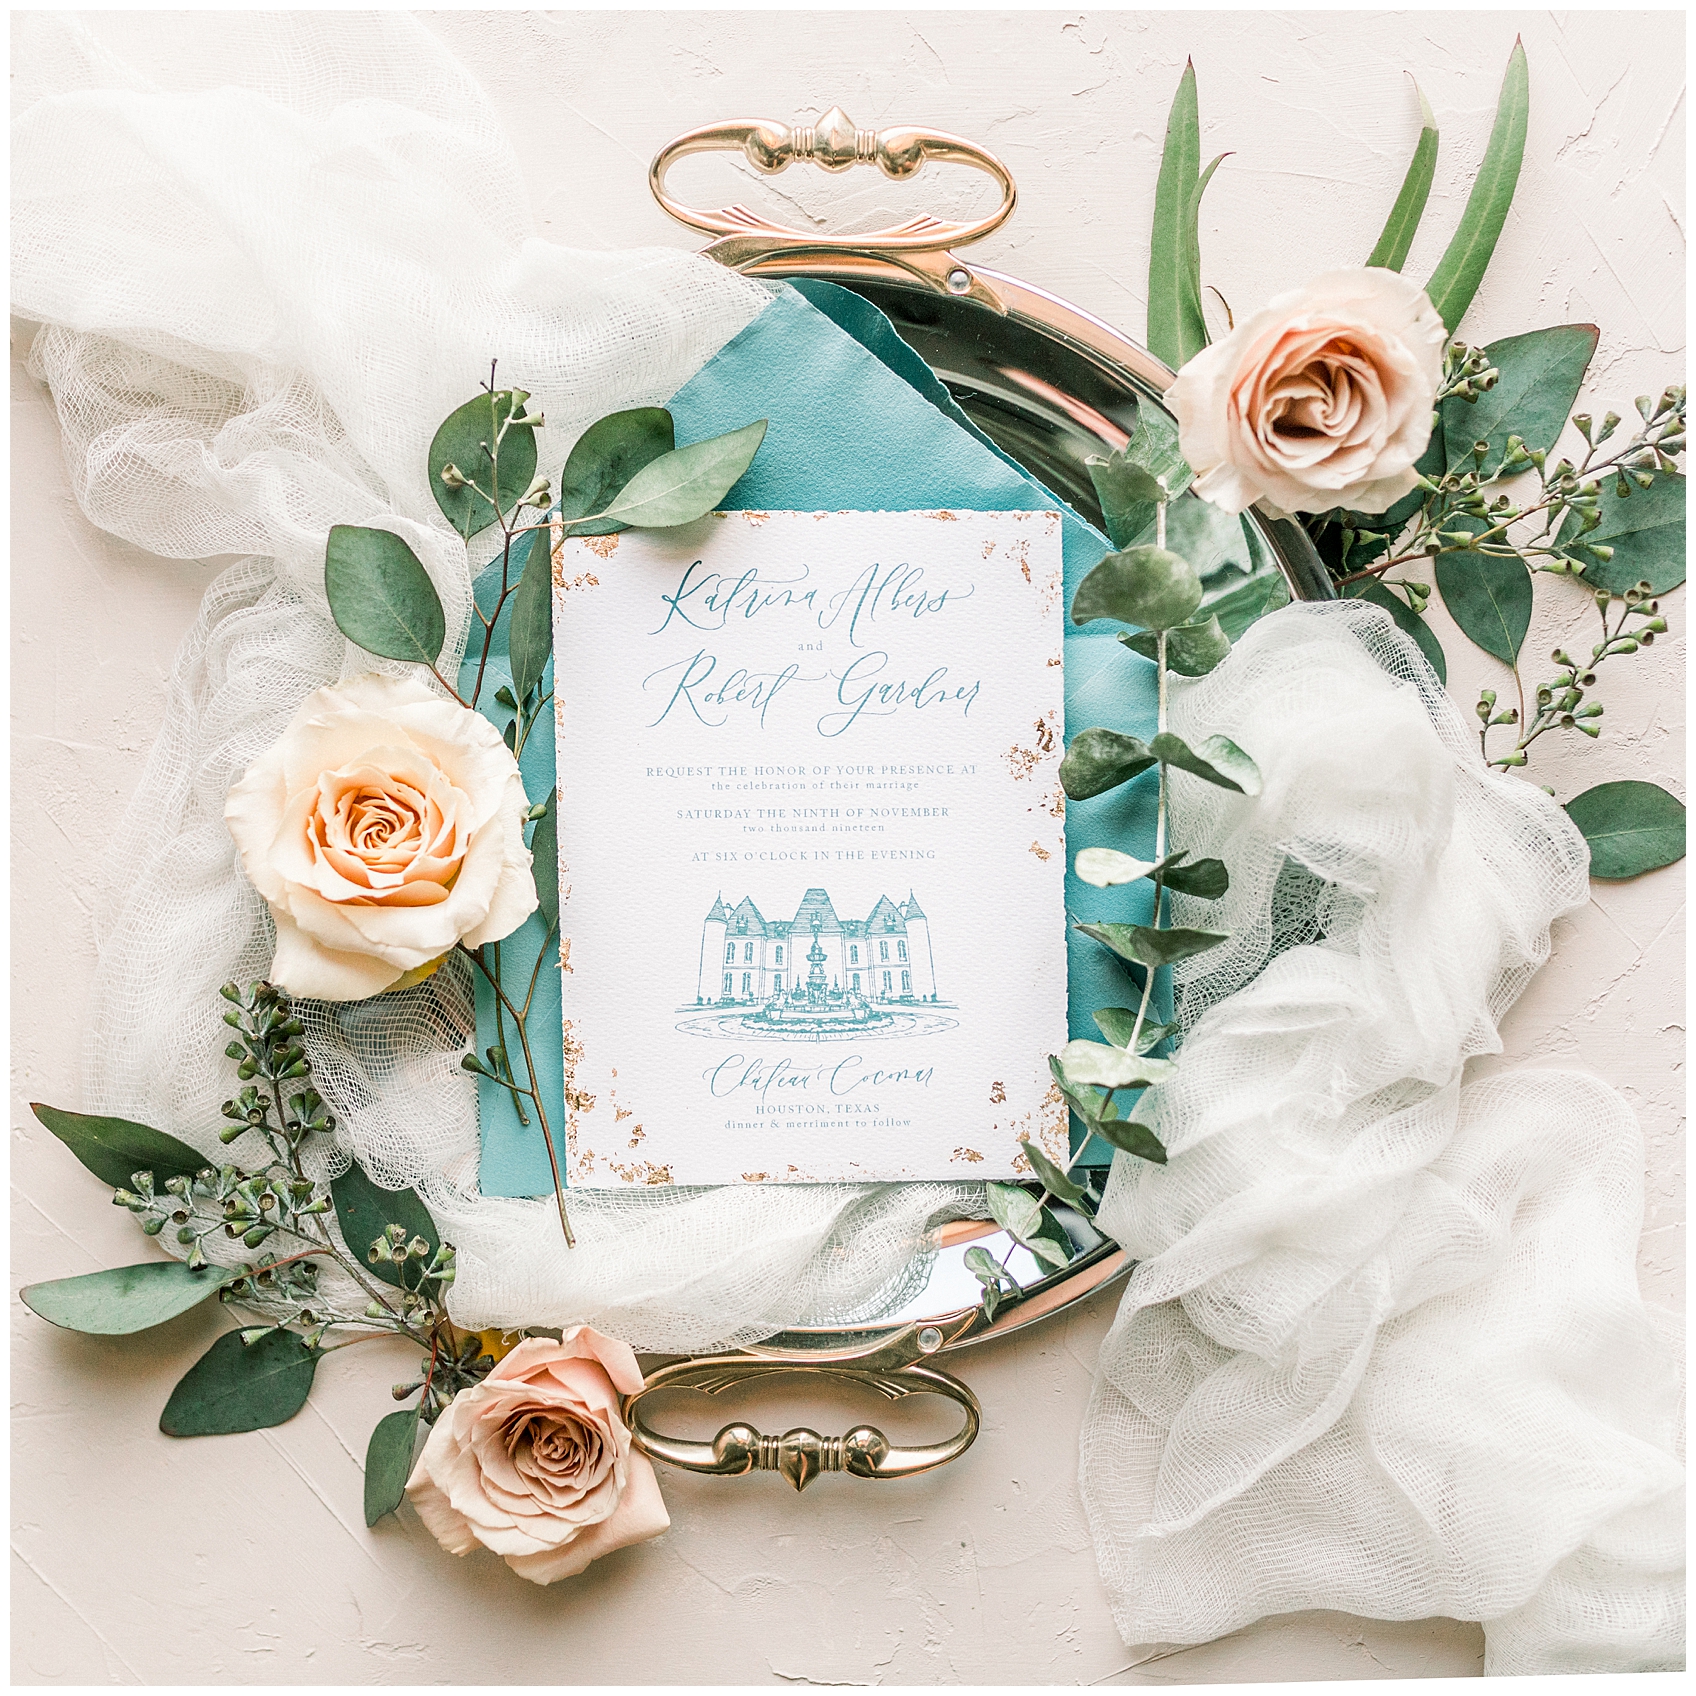
Thank you B. Gregory Designs for letting me photograph your latest semi-custom stationery line on my DIY textured styling board! The two paired perfectly! You can now visit and purchase her designs in store now open in Sugarland Town Centre Shopping District.
Pin It!
Related
Specializing in Fine Art film & digital photography. Documenting romantic love stories and timeless, organic portraits locally & for destination weddings.
Based in Houston, Texas.
Join the SAP family to receive exclusive offers like our pop-up mini sessions!
View Menu
(Coming Soon!)
